There are a lot of DIY and educational projects going on with the use of Raspberry Pi. Here below you will know how to set everything up and start work with the board.
It is a small, single-board computer, that can be used pretty much as a desktop computer, constructed with the Broadcom BCM2837B0 Cortex –A53 (ARMv8) 64bit SoC with 1.4GHz quad core processor and 1Gb LPDDR2 SRAM. You can buy the Raspberry Pi board with all supporting tools on the Farnell element14 online web-store. My board is PRI3-MODBP .
If you have bought the Raspberry Pi board and are considering how best to configure it and start working with it then there is some helpful information below.
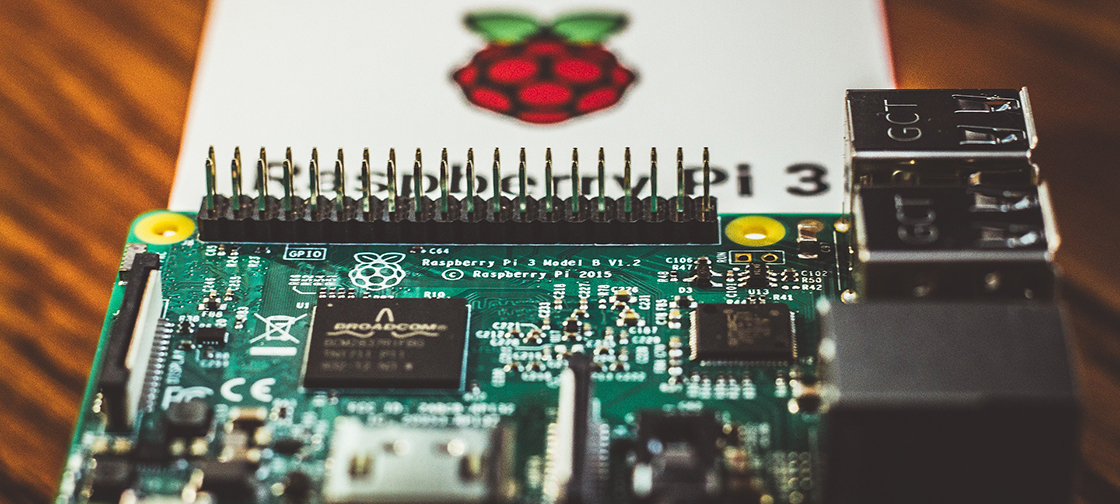
For the set of basic components you will need to start with are the board, I would recommend starting with a 16Gb microSD card, heat sink, VGA – HDMI adaptor, power supply for Raspberry Pi board, a monitor/TV, keyboard, and mouse. You can see what it looks like in Figure 1. This set only includes the board. However, there many more Raspberry Pi sets you can find for different projects.
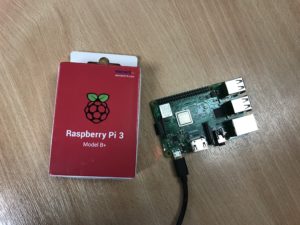
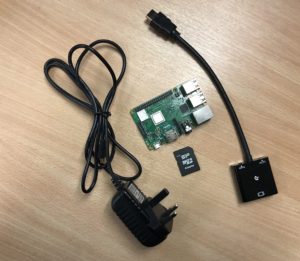 Picture 1. The Raspberry Pi 3 Model B+ board with supporting components.
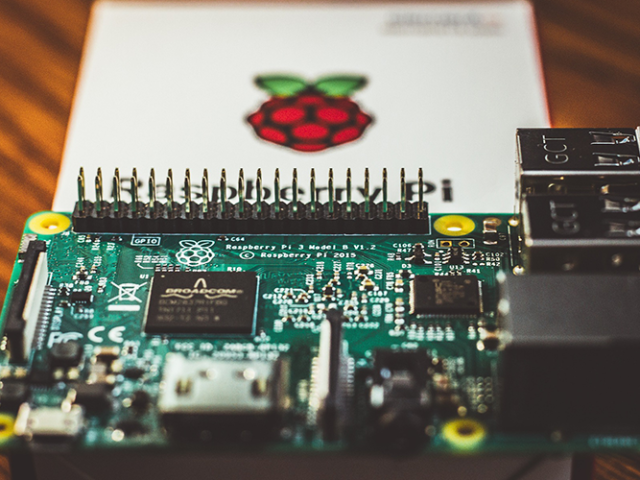
First, lets take a look what our board consists of. You can see the Raspberry Pi 3 B+ model on the Picture 2.
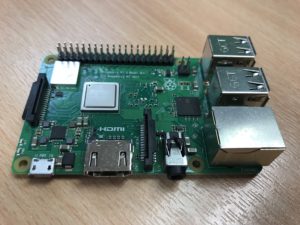
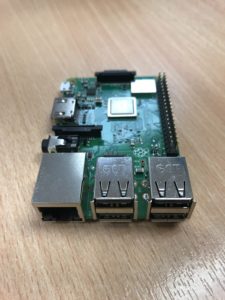 Picture 2. The Raspberry Pi 3 Model B+ board
The board specification is:
- Dual band 2.4GHz and 5GHz IEEE 802.11.b/g/n/ac wireless LAN, Bluetooth 4.2, BLE connectivity;
- 4 x USB 2 ports;
- PoE capability via a separate PoE HAT;
- Full Size HDMI, MIPI DSI display port, MIPI CSI camera port;
- Gigabit Ethernet over USB 2.0 (maximum throughput 300Mbps);
- MicroSD card slot for operating system and data storage;
- 4-pole stereo audio/composite video output port; 40-pin extended GPIO.
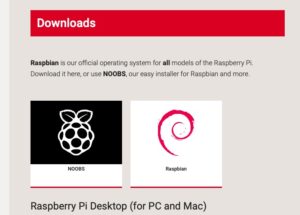
The SD card can contain the pre-installed NOOBS with Raspbian, if you buy it from Farnell element14 it can also contain for example, TSRASPI10-16G – the micro SD card with preloaded NOOBS (V2) OS Installer for Raspberry Pi. You can of course install it on the SD card yourself. To do so, insert the SD card in your computer, download the NOOBS zip file from the official raspberrypi.org web-page, unzip the files, and drag and drop them to the SD card.
Assembling all together
Secondly, you must connect the power cable to the power connector, the display to the HDMI connector, mouse and keyboard to the USB connectors, and the insert SD card with NOOBS installed on it. If you have available WiFi there is no need to worry about the internet as you can configure it later. If you use cable internet, you can connect the Ethernet cable to the board.
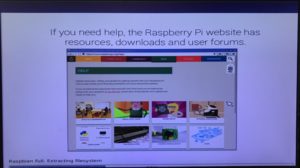
 Picture 3. NOOBS environment downloading.
Your board is now ready for setting up. Now you must follow the steps described below.
Software installation
You will see a few installation options on the screen. I advise you to use the NOOBS Installation option. However, you may choose another option if you desire. The next step is to click the Install button and installation will begin. The installation screen will look more or less like Picture 4.
 Picture 4. Raspberry Pi 3 Model B+ installation screen.
After installation is complete, you will see the desktop for your board, where you will see the set-up screen. You will then be prompted to specify a few settings such as country, language and time zone, see Picture 5.
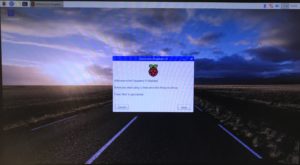
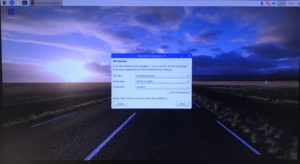 Picture 5. The set-up screen of the Raspberry Pi 3 board.
The Raspberry Pi configuration is now finished and you can start working.
Work set up
It is not a problem if you want to work with your board from a laptop. But for the first steps of configuration of your board you essentially will need a screen, mouse and keyboard.
In order to work with your board from a laptop, you must connect your board to WiFi, install a VNC server to your board and install VNC viewer to your laptop. There are many variations of this software that you can find on the Internet. I used a VNC server/viewer for my board.
In order to install the TightVNC app to your Raspberry Pi board you must open the Terminal. To check if the Raspberry Pi is up to date, input the commands:
sudo apt-get update –y
sudo apt-get upgrade –y
The application installation should start by inputting the command:
sudo apt-get install tightvncserver
Set up the password, after which the installation will be finished. To start the VNC server, just write the command:
vncserver :1
Then reboot your Raspberry Pi with the command
sudo reboot
When you need to run your VNC server type the command:
vncserver :1
Now, to install the VNC viewer for your laptop. Download the application from the website www.realvnc.com for your OS and run it on your laptop. In the field on the top of the screen you will need the IP address of your Raspberry Pi. In order to do that, you can input the command in the terminal:
sudo ifconfig
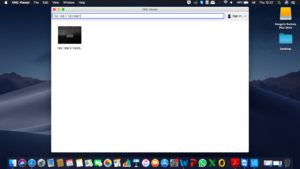
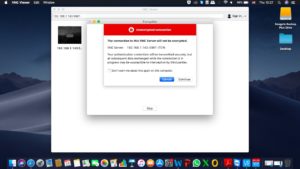
Picture 6. The set-up of an VNC viewer.
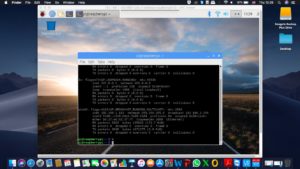
There you will find the IP address of your board after the identification word inet. Then enter the IP in the top field of the VNC viewer with :5901 at the end and press the Enter key. Then you will see the Raspberry Pi desktop.
Now your Raspberry Pi is set-up and ready to use.