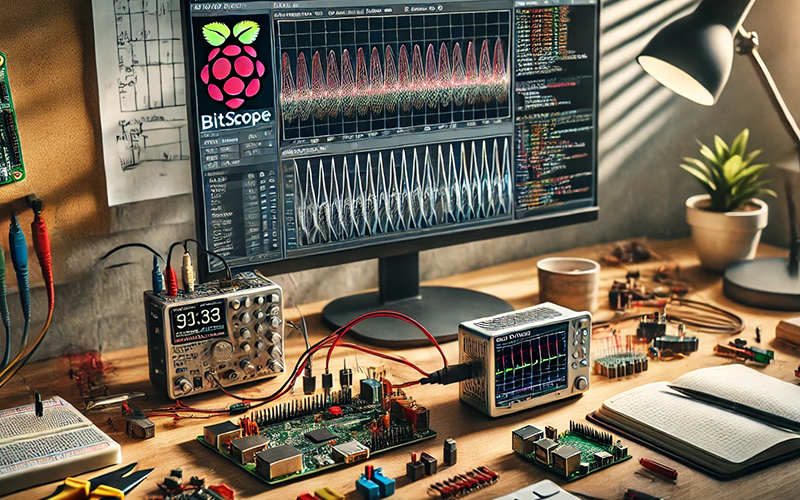
BitScope is a versatile tool that combines the functionality of an oscilloscope, logic analyser, and waveform generator into a single compact device. When paired with a Raspberry Pi, it opens up a world of possibilities for engineering students to explore, learn, and innovate. This article will introduce five exciting BitScope projects that engineering students can undertake using a Raspberry Pi. Each project provides hands-on experience in electronics and programming, reinforcing theoretical knowledge with practical application.
1. Digital oscilloscope using BitScope and Raspberry Pi
Objective: Create a digital oscilloscope using BitScope to measure and analyse electrical signals.
Description: This project involves setting up BitScope as a digital oscilloscope to visualise and analyse waveforms. Students will learn how to connect BitScope to a Raspberry Pi and use the BitScope software to monitor signals in real-time. The project can be expanded by adding features such as saving waveform data or automating measurements using Python scripts.
Steps:
- Connect the BitScope to the Raspberry Pi via USB.
- Install BitScope software on the Raspberry Pi.
- Configure the software to recognise the BitScope hardware.
- Use Python to automate measurements and save data for analysis.
2. Logic analyser for digital circuit debugging
Objective: Utilise BitScope as a logic analyser to debug digital circuits.
Description: In this project, students will use BitScope to debug and analyse digital circuits. The logic analyser function helps capture and decode digital signals, providing insight into circuit behaviour. This is particularly useful for projects involving microcontrollers or digital communication protocols like I2C or SPI.
Steps:
- Connect digital input pins from the circuit to the BitScope logic analyser inputs.
- Use the BitScope software to capture digital signals.
- Analyse the captured data to understand the circuit’s operation or identify issues.
- Implement Python scripts to automate the analysis process.
3. Waveform generator for signal testing
Objective: Design and implement a waveform generator using BitScope and Raspberry Pi for testing electronic circuits.
Description: A waveform generator is an essential tool for testing and experimenting with electronic circuits. This project teaches students to use BitScope as a waveform generator, producing various waveforms (sine, square, triangle, etc.) to test different components or circuits.
Steps:
- Connect BitScope to the Raspberry Pi and launch the waveform generator mode.
- Select the desired waveform type and frequency using the BitScope software.
- Output the generated waveform to a test circuit and observe its response.
- Use Python scripts to automate waveform generation and variation.
4. Remote data acquisition system
Objective: Set up a remote data acquisition system using BitScope and Raspberry Pi.
Description: This project focuses on using BitScope and a Raspberry Pi to collect and monitor data remotely. It is ideal for students interested in IoT applications, allowing them to create a system that collects real-time data from sensors and transmits it over the Internet for remote monitoring.
Steps:
- Connect sensors to the BitScope inputs.
- Configure the Raspberry Pi to collect data from BitScope.
- Use Python to create scripts that transmit data to a remote server or Cloud platform.
- Develop a user interface for remote data visualisation and analysis.
5. Automated testing platform for electronic components
Objective: Build an automated testing platform for various electronic components using BitScope and Raspberry Pi.
Description: In this project, students will design a platform that automatically tests and characterises electronic components such as resistors, capacitors, and transistors. The BitScope, paired with the Raspberry Pi, provides the necessary tools to automate testing procedures and record results.
Steps:
- Connect the components to be tested to BitScope.
- Use BitScope’s measurement capabilities to record electrical parameters.
- Write Python scripts to automate the testing process and store results.
- Analyse and interpret the data using visualisation tools.


