In the realm of electronics and computer science education, practical projects play a pivotal role in reinforcing theoretical knowledge.
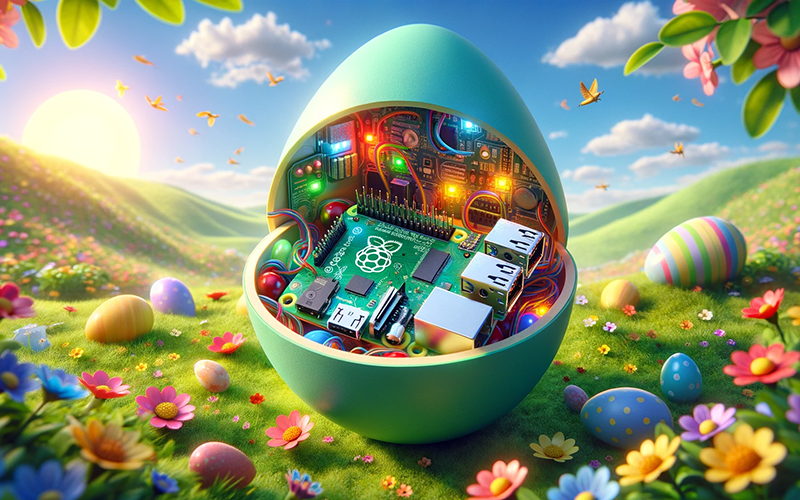
One intriguing example of such a project is the development of a Raspberry Pi-powered smart Easter egg. This innovative venture not only serves as a festive exploration of technology but also offers students a comprehensive learning experience, encompassing programming, electronics design, and interactive hardware development.
This article delves into the technicalities of creating a smart Easter egg, illustrating how traditional Easter celebrations can be enhanced through the integration of modern technology.
Project overview
The smart Easter egg project aims to create an interactive Easter egg that can change colours, play sounds, or even move, all controlled via a web interface hosted on a Raspberry Pi. This project harnesses the Raspberry Pi’s capabilities to control various electronic components, including LEDs, speakers, and motors, thereby transforming a conventional Easter egg into an engaging technological marvel.
Materials required
- Raspberry Pi (any model with GPIO pins): The central processing unit of the project, which will control the electronic components attached to the Easter egg
- RGB LEDs: For changing the egg’s colours
- Mini speaker: To play sounds or music
- Small motors (optional): For adding movement to the egg
- Breadboard and jumper wires: For prototyping the circuit
- Battery pack: To power the Raspberry Pi and components
- 3D printed or plastic Easter egg: To house the electronics
Design and implementation
Step 1: setting up the Raspberry Pi
Begin by installing the Raspberry Pi OS on your Raspberry Pi and ensure it is connected to the Internet. You’ll need to enable SSH to remotely access the Raspberry Pi and configure it for the project. Install necessary libraries for controlling the GPIO pins, such as RPi.GPIO for Python, which allows for interaction with the hardware components.
Step 2: circuit design
The next phase involves designing the circuit. Connect RGB LEDs to the GPIO pins on the Raspberry Pi through a breadboard. If including sound, connect the mini speaker via a suitable amplifier circuit to one of the audio outputs of the Raspberry Pi. For movement, small motors can be connected to the GPIO pins, but ensure to use a motor driver to protect the Raspberry Pi from potential damage due to overcurrent.
Step 3: programming
Develop a Python script that controls the LEDs, speaker, and motors. For the LEDs, write functions to change colours based on predefined patterns or user input. For sound, utilise a Python library like pygame to manage audio playback. If motors are included, create functions to control their speed and direction.
Step 4: web interface
To make the smart Easter egg interactive, develop a web interface using Flask, a Python web framework. This interface will allow users to control the egg’s features through a browser. The web server running on the Raspberry Pi will handle requests from the user, such as changing colours or playing sounds, and execute the corresponding actions through the GPIO pins.
Step 5: assembling the egg
After testing the circuit and code on a breadboard, the final step is to miniaturise the electronics and fit them inside the Easter egg. This might require customising the 3D printed or plastic egg to accommodate the components and ensure there’s enough air circulation to prevent overheating.
Challenges and solutions
One of the primary challenges in this project is power management, especially if the smart Easter egg is intended to be portable. Utilising a battery pack that can provide sufficient current for the Raspberry Pi and all attached components is crucial. Additionally, managing heat within the confined space of the Easter egg is essential to prevent damage to the electronics. Strategic placement of components and possibly including small ventilation holes in the egg’s design can mitigate overheating issues.


