Here we make a project about how to connect LCD display to Arduino board and print a specific text.
Hardware:
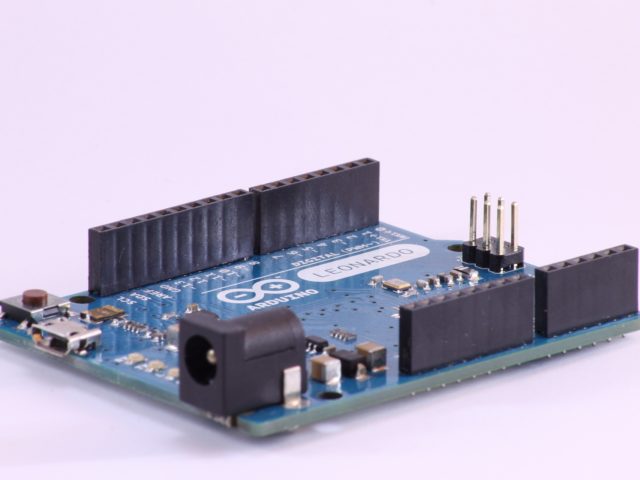
- Arduino Uno board or alternative
- Breadboard
- LCD display 16×2
- 1 x 220 Ohm resistor
- Potentiometer
- 18 MM wires
- Computer
Software :
- Arduino EDI
How to install Arduino IDE we discussed in previous post How to read Arduino board.
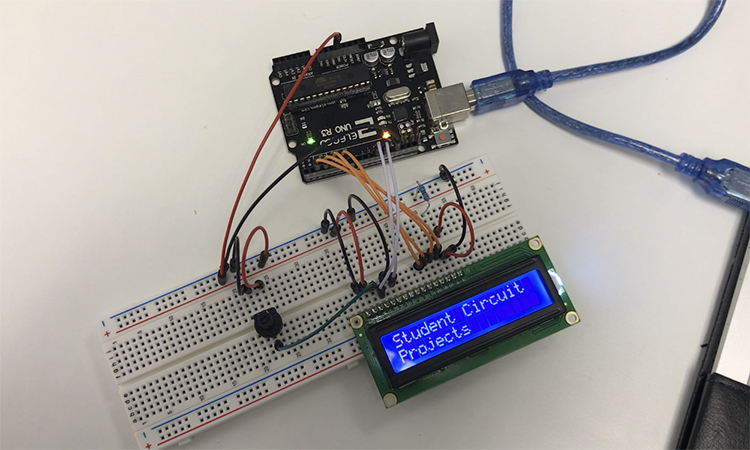
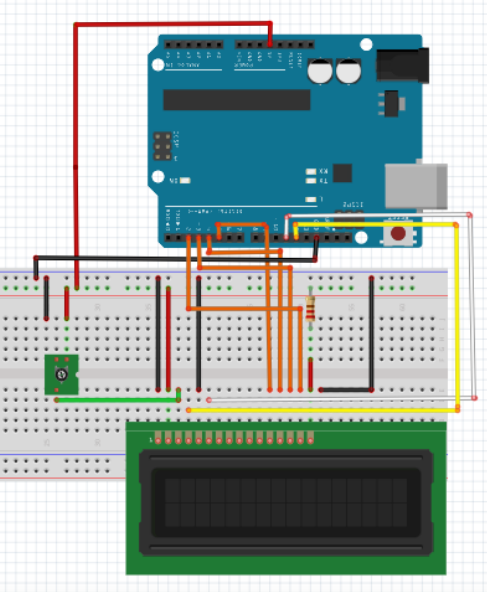
First step is connecting breadboard to LCD and Arduino as outlined.
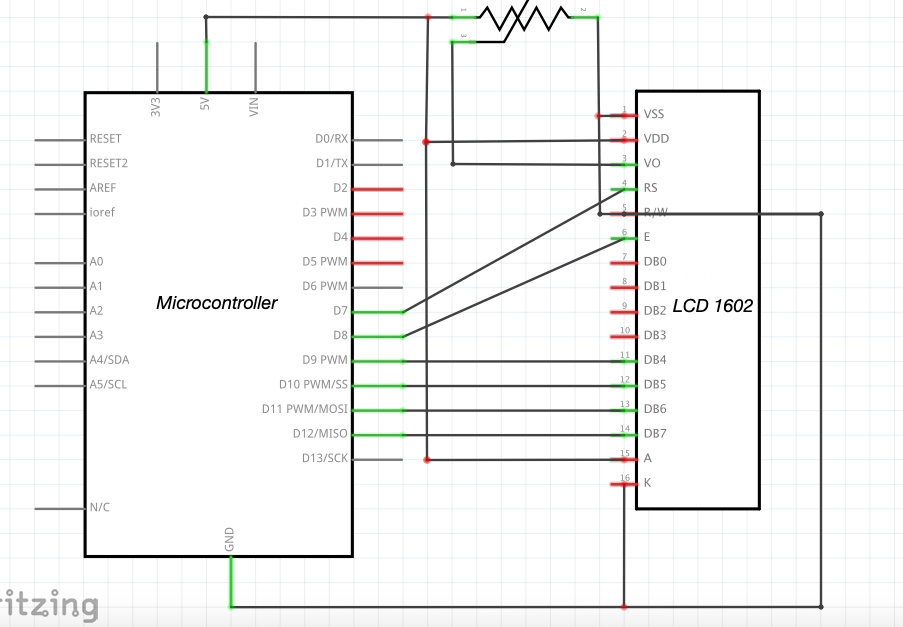
LCD – microcontroller schematic is presented below.
Then we are writing code. Code is available for download at my GitHub library. We will work with LiquidCrystal library, that allows Arduino board to control connected LCDs in 4-bit or 8-bit mode. In order to work with LCD correctly we must follow the LCD pinout. lcd() function shows what pinouts are activated for operation.
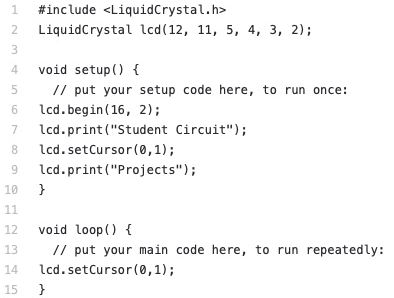
Functions we’ve used in the code are the following:
lcd.begin() – should be called before any LCD command. It initialises the display size (columns, rows)
lcd.print() – prints specific text to the display
lcd.setCursor() – positions cursor on the display